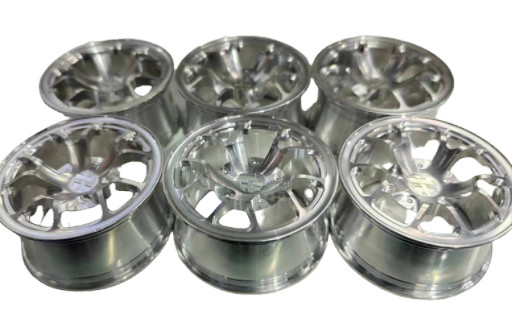
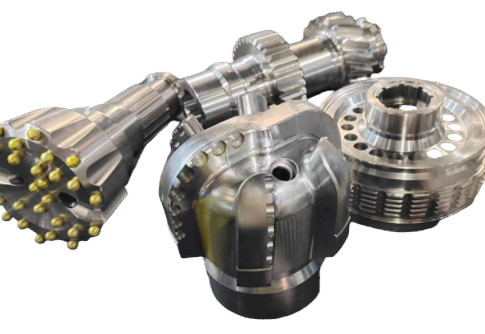
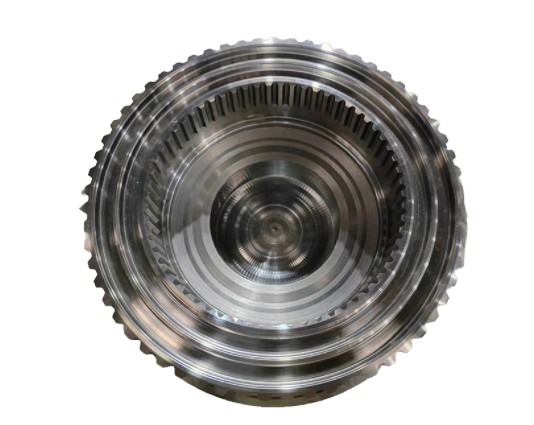
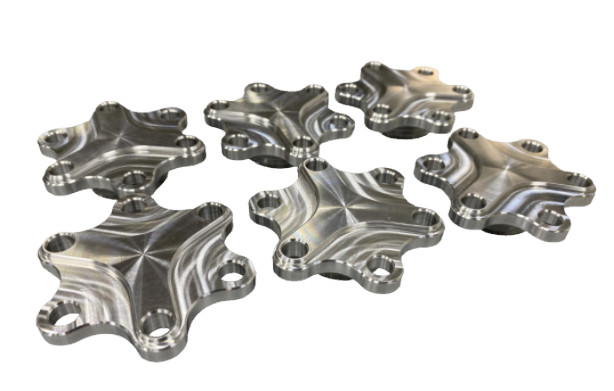
Computer Numerical Control (CNC) machining is a cornerstone of modern manufacturing, enabling the production of high-precision parts for industries such as aerospace, automotive, medical, and electronics. Achieving tight tolerances and consistent quality requires a systematic approach, advanced equipment, and skilled expertise. This article explores the methods CNC service providers use to ensure high-precision parts machining, emphasizing experience, reliability, technical expertise, and professionalism.
Advanced CNC Machinery and Tooling
CNC service providers invest in state-of-the-art machinery to achieve high precision. Multi-axis CNC machines, such as 3-axis, 4-axis, and 5-axis mills, allow for complex geometries and intricate designs. For example, 5-axis machines can approach a workpiece from multiple angles, reducing setup changes and improving accuracy. Typical tolerances for these machines range from ±0.005 mm to ±0.01 mm, depending on material and design specifications.
High-quality cutting tools, such as carbide or diamond-coated tools, are critical for precision. These tools maintain sharpness and durability, minimizing deflection during machining. Providers also use specialized tooling like T-shaped or lollipop cutters for undercuts and complex internal features. Regular maintenance of machines, including calibration of spindles and axes, ensures consistent performance. For instance, ball screws are used to eliminate backlash, enhancing positional accuracy to within ±0.002 mm.
Automation is another key factor. Advanced CNC systems integrate servo-motors and linear encoders to control tool paths with precision. Closed-loop systems provide real-time feedback, correcting deviations during machining. This level of control is essential for maintaining tolerances in high-volume production runs.

Rigorous CAD/CAM Integration
The journey to high-precision parts begins with robust design and programming. CNC service providers use Computer-Aided Design (CAD) software to create detailed 3D models of parts. These models define critical dimensions, tolerances, and surface finishes. For example, Geometric Dimensioning and Tolerancing (GD&T) standards are applied to specify allowable deviations, ensuring parts fit seamlessly in assemblies.
Computer-Aided Manufacturing (CAM) software translates CAD models into machine-readable G-code and M-code. This code dictates tool paths, cutting speeds, and feed rates. Experienced providers optimize tool paths to minimize tool wear and machining time while maintaining precision. For instance, adaptive clearing strategies adjust cutting parameters dynamically, reducing vibration and ensuring surface finishes as fine as Ra 0.8 µm.
Simulation tools within CAM software allow providers to test G-code virtually, identifying potential errors like tool collisions or over-cutting before machining begins. This proactive approach ensures that the final part matches the digital design, achieving tolerances as tight as ±0.01 mm for metals and ±0.02 mm for plastics.
Material Selection and Handling
Material choice significantly impacts precision. CNC service providers offer a wide range of materials, including metals like aluminum, stainless steel, titanium, and engineering plastics like POM, ABS, and nylon. Each material has unique properties affecting machinability. For example, aluminum is lightweight and easy to machine, achieving tolerances of ±0.005 mm, while titanium requires slower cutting speeds due to its hardness but can still meet ±0.01 mm tolerances.
Proper material handling is crucial to prevent deformation. Providers store materials in controlled environments to avoid thermal expansion or warping. For instance, metals are kept at stable temperatures (20–25°C) to ensure dimensional consistency. During precision machining, workpieces are securely fixtured using precision vices or custom jigs to eliminate movement, ensuring repeatability across batches.
Providers also consider material grain structure and residual stresses. For high-precision parts, stress-relieved materials or heat-treated alloys are often selected to minimize distortion during machining. This attention to material properties ensures consistent quality for applications like aerospace components or medical implants.
Comprehensive Quality Control Systems
Quality control is the backbone of high-precision CNC machining. Providers implement ISO 9001:2015-certified processes to ensure consistency. Quality control begins with First Article Inspection (FAI), where the first machined part is thoroughly measured against design specifications. Coordinate Measuring Machines (CMM) and laser scanners verify dimensions with accuracies of ±0.001 mm.
In-process quality checks, such as In-Process Quality Control (IPQC), monitor critical dimensions during production. For example, statistical process control (SPC) tracks variations in real time, ensuring tolerances remain within specified limits (e.g., ±0.005 mm for critical features). Final inspections include surface roughness testing, with acceptable finishes ranging from Ra Tash 6.3 µm to Ra 0.8 µm, depending on requirements.
Providers also use advanced metrology tools, such as optical comparators and profilometers, to verify complex geometries and surface quality. Inspection reports, including dimensional data and material certifications, are provided to customers, ensuring transparency and traceability.
| Quality Control Method | Описание | Typical Accuracy |
|---|---|---|
| CMM Inspection | Measures 3D coordinates of part features | ±0,001 мм |
| Surface Roughness Testing | Evaluates surface texture and finish | Ra 0.8–6.3 µm |
| First Article Inspection | Verifies initial part against design specs | Matches CAD model |

Skilled Workforce and Training
A skilled workforce is essential for precision machining. CNC service providers employ certified machinists trained in operating complex machinery and interpreting technical drawings. These professionals undergo structured training programs, often lasting several months, covering topics like blueprint reading, G-code programming, and multi-axis machining.
Experienced machinists can identify potential issues, such as tool wear or improper fixturing, before they affect part quality. For example, a worn tool can cause dimensional inaccuracies or poor surface finishes, which a skilled operator can detect through visual inspection or machine feedback. Continuous training ensures machinists stay updated on advanced techniques, such as high-speed machining or micro-machining for ultra-precise components.
Providers also foster a culture of collaboration between engineers, programmers, and machinists. This teamwork ensures that design, programming, and machining processes are aligned, reducing errors and ensuring parts meet specifications.
Optimized Process Parameters
Precision machining requires careful control of process parameters, such as cutting speed, feed rate, and depth of cut. Providers adjust these parameters based on material properties and part geometry. For example, machining stainless steel requires lower cutting speeds (100–200 m/min) compared to aluminum (300–600 m/min) to prevent tool wear and maintain accuracy.
Coolant selection also plays a role. High-pressure coolant systems, delivering up to 1000 psi, reduce heat buildup and chip accumulation, improving surface finish and tool life. For micro-machining, providers may use minimum quantity lubrication (MQL) to minimize thermal distortion while maintaining precision.
Tool path optimization is another critical factor. Providers use adaptive machining strategies to maintain consistent chip loads, reducing vibration and ensuring tolerances as tight as ±0.002 mm. These parameters are fine-tuned through detailed job logs, allowing providers to replicate successful settings for future projects.
Systematic Troubleshooting and Error Prevention
Even with advanced systems, issues like over-cutting or poor dimensional accuracy can occur. Providers address these through systematic troubleshooting. For example, over-cutting may result from incorrect G-code or worn tools. Machinists check G-code for errors, inspect tool conditions, and verify machine setup before production begins.
Detailed documentation is key to error prevention. Providers maintain logs of machining parameters, tool settings, and inspection results. These records enable rapid diagnosis of issues and prevent recurrence. For instance, if a part fails dimensional checks, the provider can trace the issue to specific parameters, such as an incorrect feed rate, and adjust accordingly.
Simulation software also helps prevent errors by modeling the machining process virtually. This allows providers to identify potential issues, such as tool collisions or excessive material removal, before cutting begins. Such proactive measures ensure consistent precision across production runs.
Post-Processing and Finishing
Post-processing enhances the precision and functionality of machined parts. Providers offer a range of surface treatments, such as anodizing, electroplating, or polishing, to achieve specific surface qualities. For example, polishing can achieve a mirror-like finish with Ra values as low as 0.4 µm, while bead blasting provides a uniform matte finish.
Deburring is another critical step, removing sharp edges and burrs to ensure parts meet aesthetic and functional standards. Automated deburring machines or manual techniques are used, depending on part complexity. For high-precision parts, providers perform additional dimensional checks after finishing to ensure no alterations to critical dimensions.
Some providers also offer assembly services, ensuring that machined parts fit perfectly into larger systems. This requires precise control over tolerances and surface finishes to avoid issues during assembly.

Customer Collaboration and Feedback
High-precision machining requires close collaboration with customers. Providers review technical drawings and CAD files to ensure manufacturability. Design for Manufacturability (DFM) feedback is provided to optimize designs, such as adding fillets to internal corners to reduce tool wear or adjusting tolerances to standard ranges (±0.005 mm) where possible.
Providers also clarify critical requirements, such as surface finish or thread specifications, to prevent miscommunication. For example, a customer may specify a non-standard thread, which requires custom tooling. Clear communication ensures these requirements are met without delays.
Customer feedback is actively sought to improve processes. If a part fails to meet specifications, providers conduct root-cause analysis and offer rework or refunds, ensuring customer satisfaction and trust.
Заключение
Ensuring high-precision parts machining requires a combination of advanced technology, skilled expertise, and systematic processes. CNC service providers achieve this through state-of-the-art machinery, rigorous CAD/CAM integration, careful material selection, comprehensive quality control, and optimized process parameters. Skilled machinists, systematic troubleshooting, and precise post-processing further enhance quality. By collaborating closely with customers and maintaining detailed documentation, providers ensure consistent, reliable results that meet the stringent demands of industries like aerospace, automotive, and medical. This professional, experience-based approach builds trust and delivers high-quality parts with tolerances as tight as ±0.001 mm.
