Rapid prototyping is a systematic approach to creating early models of a product to test and validate ideas quickly. This guide outlines the core concepts, processes, types, and best practices for effective prototyping in product development.
What is Rapid Prototyping?
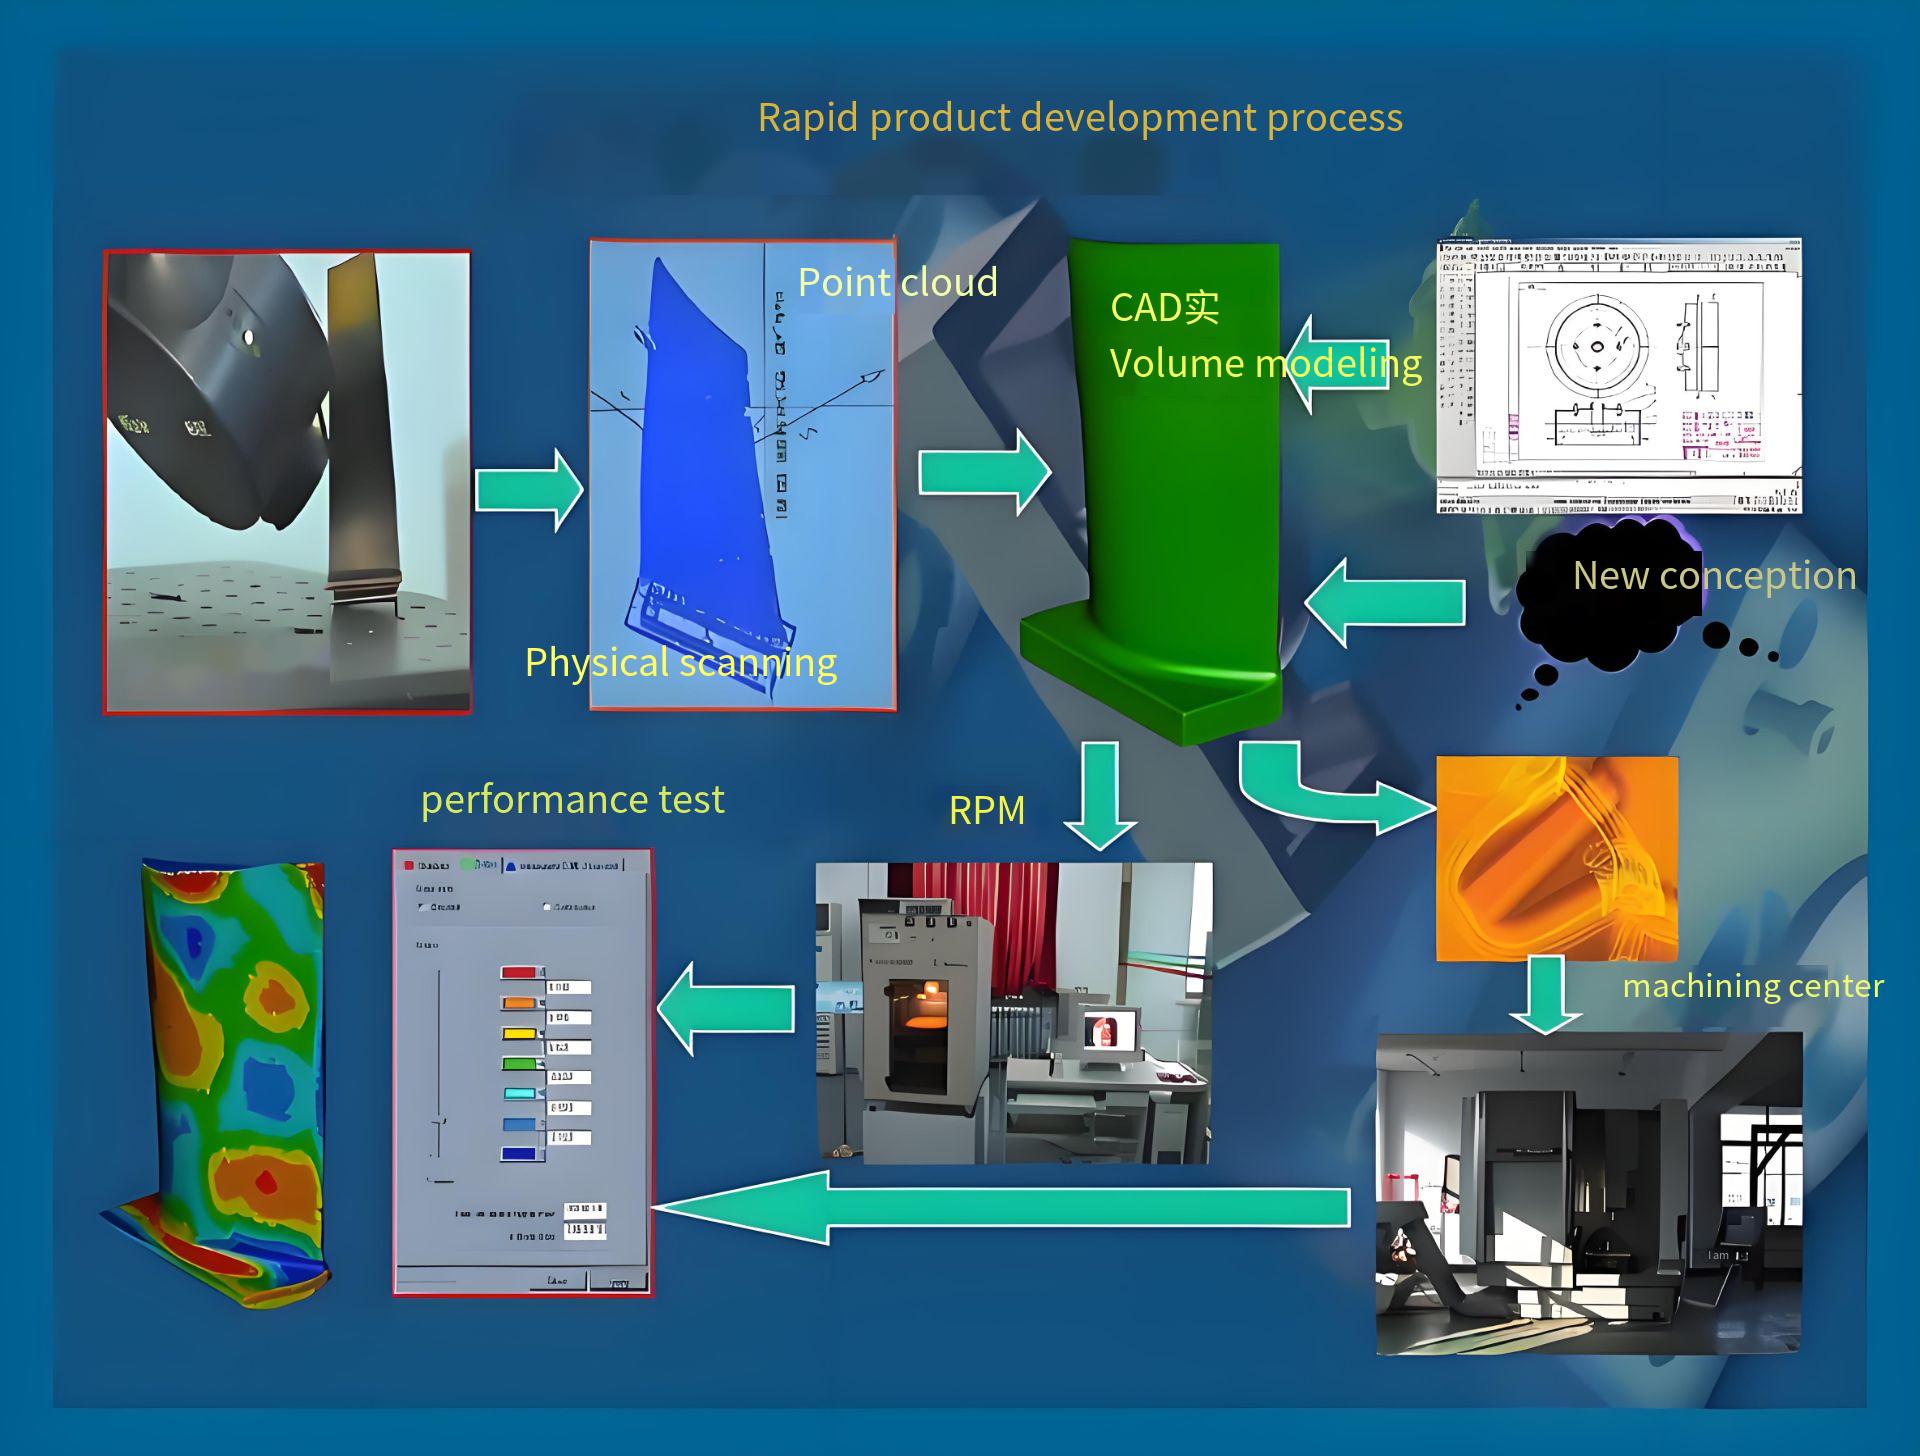
Rapid prototyping is a process used in product development to create tangible models or mockups of a product or feature quickly. These prototypes allow designers, engineers, and stakeholders to test concepts, gather feedback, and iterate before committing to full-scale production. Unlike traditional prototyping, which may involve time-intensive methods, rapid prototyping emphasizes speed, iteration, and user-centered design.
The process typically involves creating a prototype using tools like 3D printing, software for digital mockups, or simple materials like paper. Prototypes range from basic sketches to highly functional models that closely resemble the final product. The goal is to validate functionality, usability, and design early in the development cycle, reducing risks and costs associated with later-stage changes.
Core Principles of Rapid Prototyping
Rapid prototyping is grounded in several key principles that ensure its effectiveness in product development. These principles guide the process and help teams achieve meaningful outcomes.
- Iterative Design: Prototypes are created, tested, and refined in multiple cycles. Each iteration incorporates feedback to improve the design.
- User-Centered Approach: Prototypes focus on meeting user needs, ensuring the final product aligns with user expectations.
- Speed Over Perfection: The emphasis is on creating functional models quickly rather than polished, final products.
- Feedback-Driven: Prototypes are tested with users and stakeholders to gather actionable insights for refinement.
- Cost Efficiency: Early detection of design flaws minimizes expensive revisions during production.
Types of Prototypes
Prototypes vary in fidelity, functionality, and purpose. The choice of prototype type depends on the project stage, goals, and available resources. Below are the main types of prototypes used in rapid prototyping.
| Type | Description | Use Case | Tools/Materials |
|---|---|---|---|
| Low-Fidelity | Basic, non-interactive models like sketches, paper mockups, or wireframes. | Early concept validation, brainstorming, and user flow testing. | Paper, pen, digital tools like Figma, Miro. |
| Mid-Fidelity | More detailed models with limited interactivity, such as clickable wireframes. | Testing specific interactions or information architecture. | Software like Figma, Adobe XD, or Balsamiq. |
| High-Fidelity | Interactive models closely resembling the final product in look and function. | Final usability testing, stakeholder presentations, developer handoff. | 3D printers, coding (HTML/CSS/JS), tools like Figma or ProtoPie. |
Rapid Prototyping Process
The rapid prototyping process is a structured, iterative cycle that ensures prototypes meet project goals. Below are the key steps involved in the process.
Step 1: Define Goals and Objectives
Clearly articulate the purpose of the prototype. Identify what needs to be tested, such as user flow, functionality, or aesthetics. Define the target audience and key performance indicators (KPIs) for success. For example, a goal might be to test whether users can navigate a new app interface in under 10 seconds.
Step 2: Research and Planning
Conduct user research to understand needs and preferences. Analyze competitors and market trends to inform design decisions. Create a project scope to focus on the Minimum Viable Product (MVP) features. This step ensures the prototype addresses real-world requirements.
Step 3: Build the Prototype
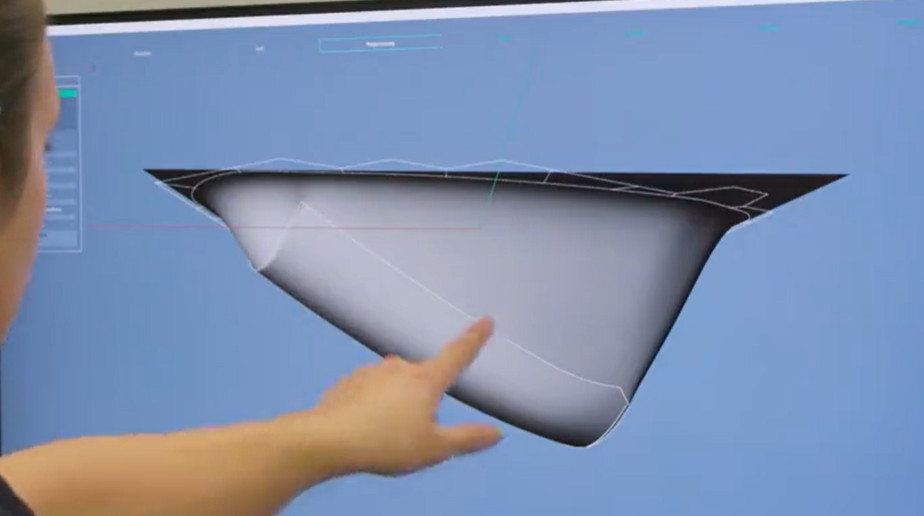
Create the prototype based on the chosen fidelity level. For low-fidelity, use sketches or wireframes. For high-fidelity, employ 3D printing or interactive software tools. Ensure the prototype is functional enough to test the defined objectives but avoid over-engineering.
Step 4: Test and Gather Feedback
Share the prototype with users, stakeholders, or internal teams. Observe interactions, conduct usability tests, and collect feedback through surveys or interviews. Focus on understanding user experience without justifying design choices.
Step 5: Refine and Iterate
Analyze feedback and implement changes to improve the prototype. Repeat the build-test-refine cycle until the prototype meets user needs and project goals. Each iteration should address specific issues identified during testing.
Technologies and Tools for Rapid Prototyping
Rapid prototyping leverages a range of technologies and tools to create models efficiently. The choice of tool depends on the prototype type and project requirements.
| Technology/Tool | Description | Applications |
|---|---|---|
| 3D Printing | Additive manufacturing using materials like PLA, resin, or metal to create physical models. | Concept models, functional prototypes, final product testing. |
| Figma | Cloud-based design tool for creating interactive digital prototypes. | Wireframes, mid- and high-fidelity prototypes for apps/websites. |
| Adobe XD | Design and prototyping tool for creating clickable mockups. | UI/UX testing, stakeholder presentations. |
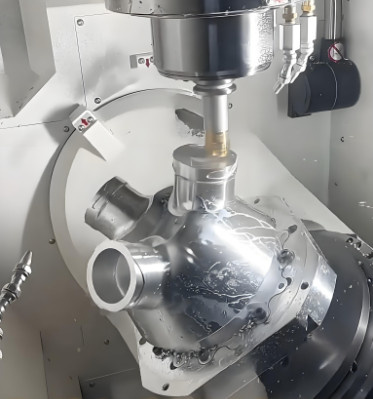
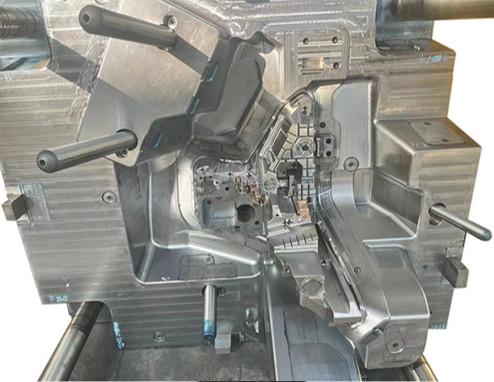
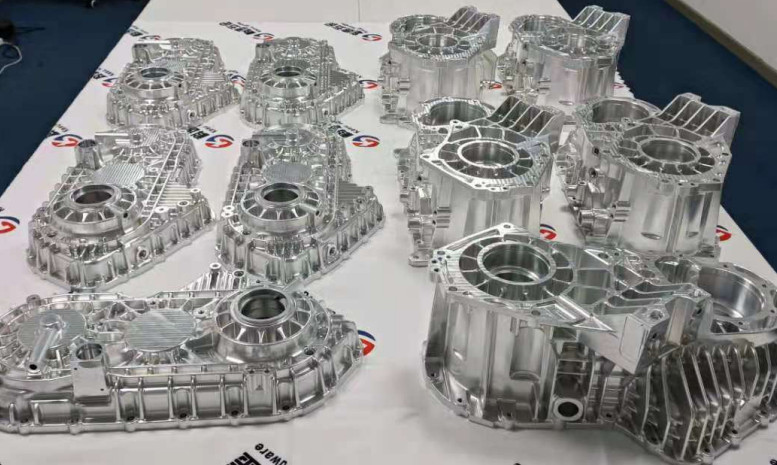
| CNC Machining | Subtractive manufacturing for high-precision prototypes. | Functional testing of metal or plastic parts. |
| ProtoPie | Advanced prototyping tool for complex interactions. | High-fidelity prototypes with dynamic animations. |
Best Practices for Rapid Prototyping
To maximize the effectiveness of rapid prototyping, follow these best practices, which are based on industry experience and proven methodologies.
- Start Simple: Begin with low-fidelity prototypes to test broad concepts before investing in detailed models.
- Focus on Core Features: Prioritize MVP functionality to avoid scope creep and ensure targeted testing.
- Engage Users Early: Involve users from the first prototype to validate assumptions and refine designs.
- Use the Right Fidelity: Match the prototype’s fidelity to the project stage and testing goals.
- Document Feedback: Record all feedback systematically to track issues and inform iterations.
- Collaborate Across Teams: Involve designers, developers, and stakeholders to ensure alignment and reduce misunderstandings.
- Leverage Reusable Assets: Use design libraries or templates to speed up prototype creation.
Common Applications of Rapid Prototyping
Rapid prototyping is widely used across industries to accelerate product development. Below are key applications.
- Consumer Electronics: Creating models for smartphones, wearables, or IoT devices to test form and function.
- Automotive: Prototyping parts like dashboards or engine components for fit and performance.
- Medical Devices: Developing prototypes for surgical tools or wearables to ensure usability and compliance.
- Software Development: Designing UI/UX for apps or websites to test navigation and interactions.
- Industrial Design: Creating concept models for furniture or appliances to evaluate aesthetics and ergonomics.
Limitations of Rapid Prototyping
While rapid prototyping is highly effective, it has certain limitations that teams should consider.
- Limited Accuracy: Some rapid prototyping methods, like FDM 3D printing, may lack the precision required for functional testing.
- Material Constraints: Prototypes may not use the same materials as the final product, affecting performance evaluation.
- Time for High-Fidelity: Creating high-fidelity prototypes can be time-consuming, negating the “rapid” aspect.
- User Bias: Users may provide less critical feedback on low-fidelity prototypes due to their unfinished appearance.
Conclusion
Rapid prototyping is a powerful tool for transforming ideas into tangible, testable models. By following a structured process, leveraging appropriate tools, and adhering to best practices, teams can validate concepts, improve designs, and reduce development risks. Understanding the core principles, types, and limitations of rapid prototyping ensures its effective application across industries, from software to manufacturing.